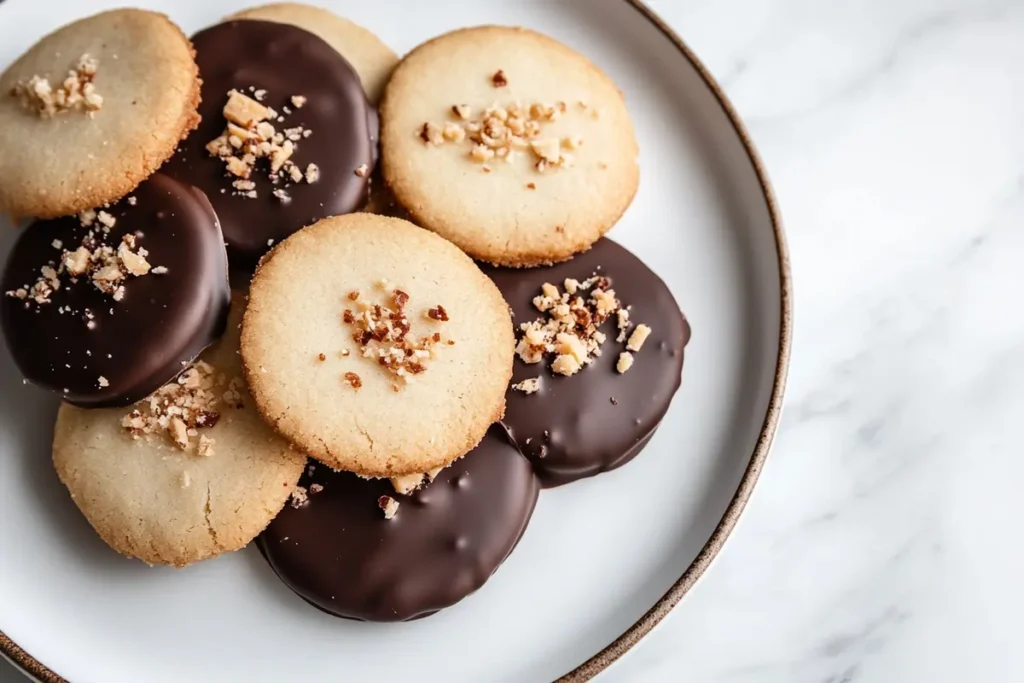
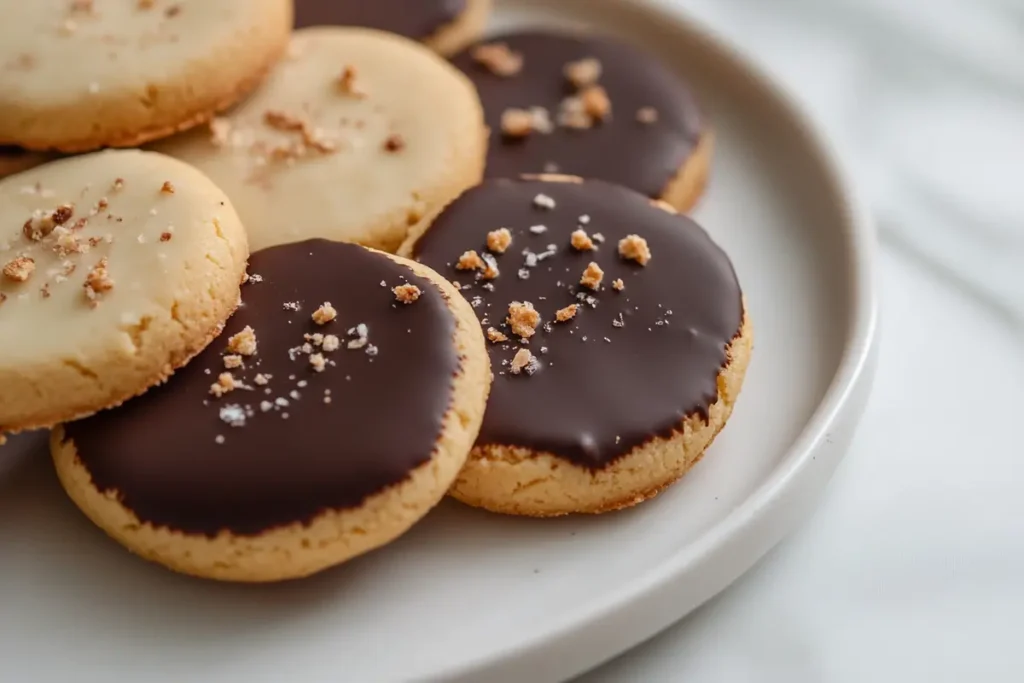
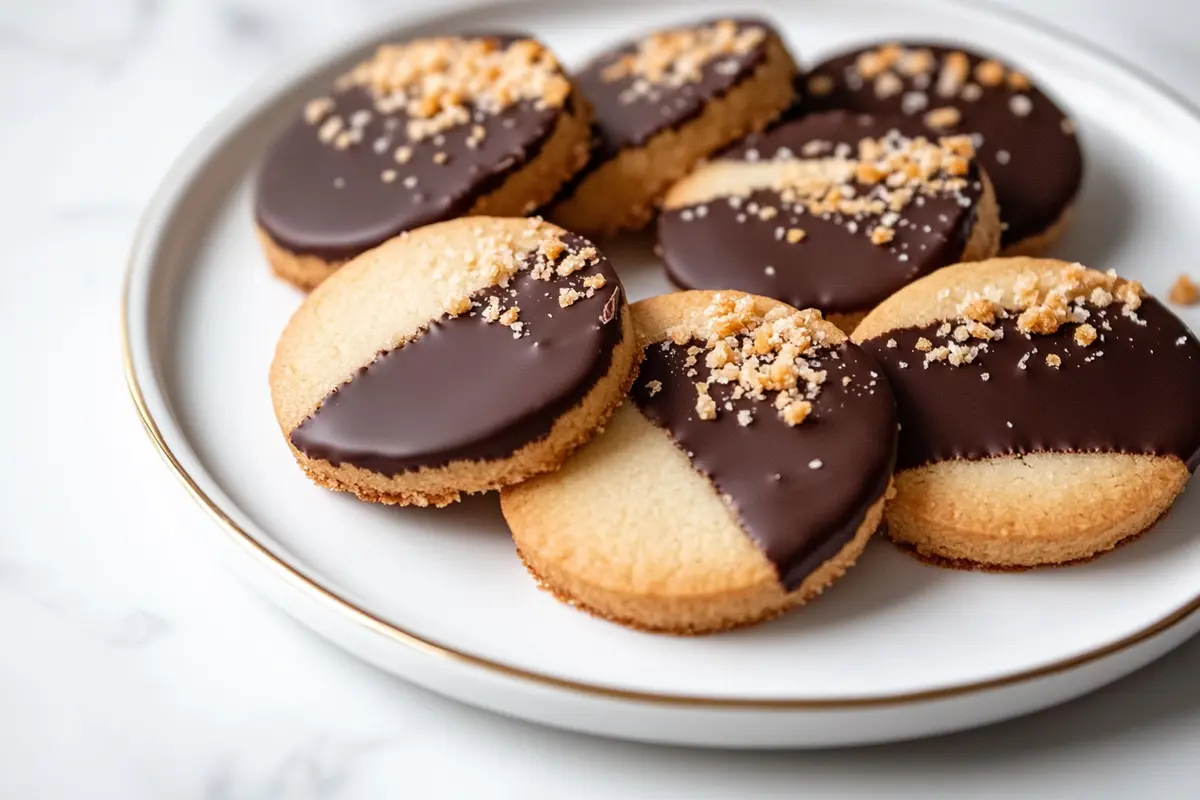
Chocolate dipping is an art form that transforms ordinary treats into irresistible delights. Whether you’re crafting desserts for a special occasion or elevating everyday snacks, mastering the perfect chocolate dip is a game-changer. In this guide, we’ll explore the essential techniques, tools, and tips to help you create flawless dip chocolate perfectly creations. From selecting the best chocolate to learning foolproof methods for tempering and decorating, we’ve got you covered.So, let’s dive into the rich, velvety world of chocolate and uncover how to dip chocolate perfectly!
Table of contents
- Understanding the Basics of Chocolate Dipping
- Preparing Chocolate for Dipping
- Mastering the Art of Tempering Chocolate
- Techniques for dip chocolate perfectly
- Keeping Chocolate Smooth and Workable
- Decorating and Storing Chocolate-Dipped Items
- FAQs About How do you dip chocolate perfectly?
- Advanced Tips for dip chocolate perfectly
- Creative Ideas for Chocolate-Dipped Treats
Understanding the Basics of Chocolate Dipping
What is Chocolate Dipping?
Chocolate dipping is a culinary technique where foods—like fruits, cookies, candies, or pastries—are coated in a smooth layer of melted chocolate. This technique not only enhances the flavor but also adds a visually appealing, glossy finish. The secret lies in achieving a uniform coat that adheres beautifully to the dipped item.
Why Perfect Chocolate Dipping Matters
Perfect chocolate dipping isn’t just about appearances—it’s about texture and taste. A poorly dipped item might look messy, have uneven layers, or lack the glossy sheen that makes it irresistible. Achieving the ideal consistency ensures your creations are as delightful to eat as they are to behold. Plus, mastering this skill can elevate your homemade treats to professional-level quality.
Essential Tools and Ingredients for Chocolate Dipping
- Tools:
- Double boiler: Helps melt chocolate gently without burning.
- Dipping tools: Forks, skewers, or specialized utensils for ease of coating.
- Parchment paper: For placing dipped items to cool without sticking.
- Thermometer: To monitor chocolate’s temperature during melting and tempering.
- Ingredients:
- High-quality chocolate: Opt for couverture or baking chocolate for a smooth texture.
- Optional additives: Cocoa butter for thinning and ensuring a silky finish.
By understanding these basics, you’re setting a solid foundation for chocolate-dipping success. Ready to prepare your chocolate for dipping? Head to Part 2 for all the melting magic!
Preparing Chocolate for Dipping
Types of Chocolate Suitable for dip chocolate perfectly
Choosing the right chocolate is the first step to learning how to dip chocolate perfectly. The most common options include:
- Couverture Chocolate: Known for its high cocoa butter content, this type creates a glossy and professional finish, ideal for dipping.
- Compound Chocolate: A budget-friendly alternative that doesn’t require tempering, though it lacks the shine and snap of couverture.
- Baking Chocolate: Found in most supermarkets, it’s versatile and easy to work with for beginners.
Opt for high-quality chocolate with minimal additives for the best results.
Melting Methods: Microwave, Double Boiler, and Slow Cooker
Achieving silky-smooth melted chocolate is crucial. Here are three reliable methods:
- Microwave: Heat chocolate in a microwave-safe bowl at 50% power in 30-second intervals, stirring between sessions to prevent scorching.
- Double Boiler: Place a heatproof bowl over a pot of simmering water, ensuring the bottom doesn’t touch the water. Stir gently as the chocolate melts evenly.
- Slow Cooker: Use the low heat setting and stir frequently. This method is perfect for keeping chocolate warm during extended dipping sessions.
Avoid overheating, as it can cause the chocolate to seize or burn.
How to Thin Chocolate for a Smooth Finish
For a flawless coat, thinning chocolate is often necessary. Add small amounts of cocoa butter, vegetable oil, or shortening to the melted chocolate and stir until the desired consistency is achieved. Using these thinners prevents the chocolate from being too thick and ensures a professional-looking dip every time.
Mastering the Art of Tempering Chocolate
What is Tempering Chocolate?
Tempering is the process of heating and cooling chocolate to specific temperatures to stabilize its crystals. This ensures a shiny, snap-worthy finish and prevents the dreaded white streaks (chocolate bloom) from forming.
Steps to Temper Chocolate at Home
- Melt: Heat chocolate to its melting point, usually around 110°F–120°F.
- Cool: Remove from heat and stir continuously until it cools to 80°F.
- Reheat: Warm slightly to a working temperature of 88°F–90°F for dark chocolate or 86°F–88°F for milk or white chocolate.
Use a thermometer for precision. Mastering tempering is essential for anyone wanting to know how to dip chocolate perfectly.
Benefits of Tempered Chocolate in Dipping
Tempered chocolate provides a smooth, glossy coat that hardens quickly at room temperature. It also enhances the texture and flavor of dipped items, creating a professional-quality finish.
If you’re looking for additional inspiration, explore creative recipes like this comprehensive caramel shortbread guide for delicious chocolate-based desserts.
Techniques for dip chocolate perfectly
Using Dipping Tools: Forks, Skewers, and Special Utensils
Achieving a flawless chocolate coating requires the right tools. Here’s what works best:
- Forks: A two-pronged fork is ideal for lifting and draining excess chocolate.
- Skewers: Great for small, delicate items like berries or marshmallows.
- Specialized Tools: Chocolate-dipping sets often include spiral tools or mesh spoons, which help create a smooth, even layer.
Use these tools to prevent smudging and maintain control during the dipping process.
How do you dip chocolate perfectly Without Leaving Streaks or Uneven Coating
Wondering how do you dip chocolate perfectly without streaks? Follow these tips:
- Dip the item straight down into the melted chocolate.
- Gently tap the tool against the bowl’s edge to remove excess chocolate.
- Rotate the item slowly while lifting it out to ensure an even coat.
Avoid overhandling, as this can lead to smudges or uneven layers.
Tips to Avoid Common Mistakes While Dipping
Here’s how to steer clear of pitfalls:
- Prevent Seizing: Ensure no water touches the chocolate during melting.
- Temperature Control: Keep chocolate warm but not hot.
- Work Quickly: Chocolate hardens as it cools, so dip efficiently for best results.
For additional dessert ideas, explore the Brownie Cookie Recipe for a perfect pairing with your dipping adventures.
Keeping Chocolate Smooth and Workable
When it comes to mastering how do you dip chocolate perfectly, keeping the chocolate smooth and workable is a non-negotiable skill. Chocolate that’s too thick, lumpy, or grainy can ruin the dipping process and leave your treats looking less than appetizing. Let’s explore the techniques and strategies to maintain that silky, glossy consistency.

Maintaining Ideal Dipping Temperature
The secret to smooth, workable chocolate lies in maintaining the right temperature. Chocolate hardens quickly as it cools, which is why it’s crucial to keep it warm while you work. Here’s how:
- Monitor the Temperature: Dark chocolate should be kept between 88°F–90°F, while milk and white chocolate work best at slightly lower temperatures, around 86°F–88°F. Use a candy or infrared thermometer to keep a close eye.
- Use a Double Boiler: A double boiler allows you to gently reheat chocolate without direct heat, reducing the risk of burning. Keep the water in the bottom pan at a simmer, not a boil, and stir the chocolate frequently.
- Warming Trays or Crockpots: For extended dipping sessions, a warming tray or a slow cooker set to its lowest heat setting can help maintain the perfect temperature.
Maintaining the right temperature ensures the chocolate remains smooth, shiny, and easy to coat your treats.
Reheating Chocolate Without Burning or Scorching
Reheating chocolate requires a delicate touch. Overheating can lead to scorching, which creates a burnt taste and gritty texture. If your chocolate cools and starts to thicken, follow these steps:
- Low and Slow: Heat the chocolate in short intervals. If you’re using a microwave, set it to 50% power and heat in 10- to 15-second increments, stirring between each.
- Add Fat for Rescue: If the chocolate starts to seize, add a small amount of vegetable oil, cocoa butter, or shortening. Stir gently to bring back the silky consistency.
- Avoid Water Contact: Even a tiny drop of water can cause the chocolate to seize and clump. Ensure all tools and surfaces are completely dry before reheating.
Patience is key when reheating chocolate. Rushing the process often leads to scorching or uneven textures.
Thinning Chocolate for dip chocolate perfectly Finish
Sometimes, even melted chocolate can be too thick for dipping. Thinning your chocolate ensures a smooth, even coat on every item. Here’s how to do it:
- Add Fat-Based Thinners: Use cocoa butter for a natural, flavorless thinning agent. If you don’t have cocoa butter, vegetable oil or shortening are excellent alternatives.
- Mix Gradually: Start with a small amount of thinning agent—just a teaspoon at a time. Stir and test the consistency until you achieve a fluid, pourable texture.
- Avoid Over-Thinning: Thin chocolate is easier to work with but can become too runny if overdone. Strive for a balance between fluidity and coverage.
Thinning your chocolate correctly guarantees a professional-looking dip every time.
Preventing Chocolate from Seizing
Chocolate seizing is a common issue, often caused by exposure to water or overheating. When chocolate seizes, it becomes grainy and unusable. Here’s how to avoid it:
- Keep Tools Dry: Always use completely dry bowls, utensils, and spatulas when working with chocolate.
- Control Moisture in the Air: On humid days, work in an air-conditioned environment to minimize moisture exposure.
- Use the Right Equipment: Silicone or nonstick utensils are less likely to retain water compared to wooden tools.
If your chocolate does seize, don’t panic! You can sometimes rescue it by adding a few drops of oil or melted cocoa butter and stirring vigorously.
Working with Chocolate During Long Sessions
Dipping a large batch of treats can be challenging, especially if the chocolate starts to harden. These tips will help keep your chocolate smooth and workable throughout:
- Stir Frequently: Regular stirring redistributes heat and prevents the chocolate from cooling too quickly.
- Divide and Conquer: Work with smaller batches of melted chocolate, reheating as needed, to avoid overheating the entire batch.
- Keep a Water Bath Ready: If using a double boiler, keep the water warm to reheat chocolate as it begins to thicken.
These strategies ensure your chocolate remains silky and ready for dipping, no matter the batch size.
The Role of Tempering in Workability
Tempered chocolate isn’t just about shine—it also stays more stable during the dipping process. If you’re planning a long session of dipping, tempering your chocolate in advance ensures it remains workable for longer periods without thickening or clumping.
Keeping chocolate smooth and workable is the foundation of perfect dipping. By managing temperature, reheating carefully, and using thinning agents when needed, you’ll achieve flawless results every time. Whether you’re dipping strawberries, pretzels, or cookies, mastering these techniques ensures every treat looks as good as it tastes!
Decorating and Storing Chocolate-Dipped Items
How to Add Toppings or Designs to Dipped Items
Decorating your chocolate-dipped treats takes them from ordinary to extraordinary. Here are some fun ways to enhance their appeal:
- Sprinkles and Toppings: While the chocolate is still wet, sprinkle crushed nuts, candies, or edible glitter on top for a festive look.
- Drizzling Designs: Use a piping bag filled with contrasting chocolate (white over dark or vice versa) to create zigzags or swirls.
- Edible Transfers: Apply pre-printed chocolate transfer sheets for intricate designs.
To ensure your decorations adhere well, apply them immediately after dipping while the chocolate is still tacky.

Proper Cooling and Storage Techniques dip chocolate perfectly
Storing chocolate-dipped items properly is key to maintaining their texture and flavor:
- Cooling: Place dipped items on parchment paper and let them cool at room temperature. Avoid refrigerating unless necessary, as condensation can dull the chocolate’s shine.
- Storage: Store in an airtight container in a cool, dry place. Separate layers with wax paper to prevent sticking.
For an extra dose of inspiration, consider pairing your chocolate-dipped creations with other sweet delights like our Caramel Shortbread Guide.
FAQs About How do you dip chocolate perfectly?
What is the Difference Between a Butter Cookie and a Shortbread Cookie?
Both butter and shortbread cookies are rich and buttery, but they differ in texture and sweetness. Shortbread cookies have a crumbly texture and lower sugar content, making them ideal for dipping in chocolate due to their sturdy structure.
How Do You Dip Cookies in Chocolate Without Making a Mess?
To dip cookies without making a mess, follow these steps:
- Use a dipping fork or skewer for better control.
- Let excess chocolate drip off before placing the cookie on parchment paper.
- Clean the edges with a small spatula or knife if needed.
How Do You Keep Chocolate Smooth for Dipping?
Keeping chocolate smooth is essential to mastering how do you dip chocolate perfectly. Maintain a consistent temperature (88°F–90°F) and stir frequently. If the chocolate starts to thicken, reheat it gently while stirring.
How Do You Temper Chocolate for Dipping Cookies?
Tempering chocolate for dipping cookies follows the same steps outlined in Part 3. The key is to use a thermometer for accuracy and maintain the working temperature while dipping.
For more detailed baking tips, check out our Peanut Butter Cookies Guide to expand your treat repertoire.
Advanced Tips for dip chocolate perfectly
How to Achieve a Professional Finish Every Time
If you’ve ever wondered how do you dip chocolate perfectly like a pro, these advanced tips can help:
- Preheat Your Work Area: Cold surfaces or tools can cause chocolate to harden prematurely. Keep your workspace slightly warm for consistent results.
- Tap and Rotate: After dipping, tap the tool gently against the edge of the bowl and rotate the item for a smooth, even coating.
- Use a Cooling Rack: For larger items, place them on a wire rack after dipping to let excess chocolate drip away, ensuring clean edges.
Attention to these small details makes a big difference in achieving a flawless, glossy finish.
Troubleshooting Common Chocolate-Dipping Issues
Even experienced chocolatiers encounter hiccups. Here’s how to troubleshoot:
- Chocolate Seizing: If your chocolate seizes (becomes grainy), add a few drops of vegetable oil and stir until smooth.
- Blooming (White Streaks): This occurs when chocolate is improperly tempered or exposed to moisture. Ensure proper tempering and store in a cool, dry place.
- Sticky Coating: This usually happens if chocolate is refrigerated. Instead, let dipped items cool at room temperature.
Mastering these advanced techniques will elevate your chocolate-dipping game to a professional level.
Creative Ideas for Chocolate-Dipped Treats
Unique Items to dip chocolate perfectly
Chocolate-dipping isn’t just for cookies and strawberries! Explore these creative options:
- Savory Snacks: Dip pretzels, potato chips, or even popcorn for a sweet-and-salty treat.
- Fruits: Experiment with dried fruits like apricots, figs, or bananas for a chewy delight.
- Cheese Cubes: Yes, chocolate-dipped cheese is a thing! It’s a bold flavor combination for adventurous eaters.
These unique ideas ensure there’s always something new and exciting to dip.
Pairing Your Creations with Other Desserts
Chocolate-dipped treats pair wonderfully with a variety of other desserts. For example:
- Serve chocolate-dipped biscotti with coffee for a delightful morning treat.
- Pair chocolate-dipped marshmallows with s’mores or hot cocoa for a cozy dessert.
- Add chocolate-dipped fruits as a topping for cakes or ice cream.
For more dessert inspiration, consider browsing the Kefir Chocolate Cake Recipe Guide for a delightful pairing.

